If you missed my introduction you can find it http://www.rossi-rifleman.com/viewtopic.php?f=37&t=3344. My introduction pretty much sums up how I came about getting the rifle and finding all of you guys. Now on to the fun stuff.
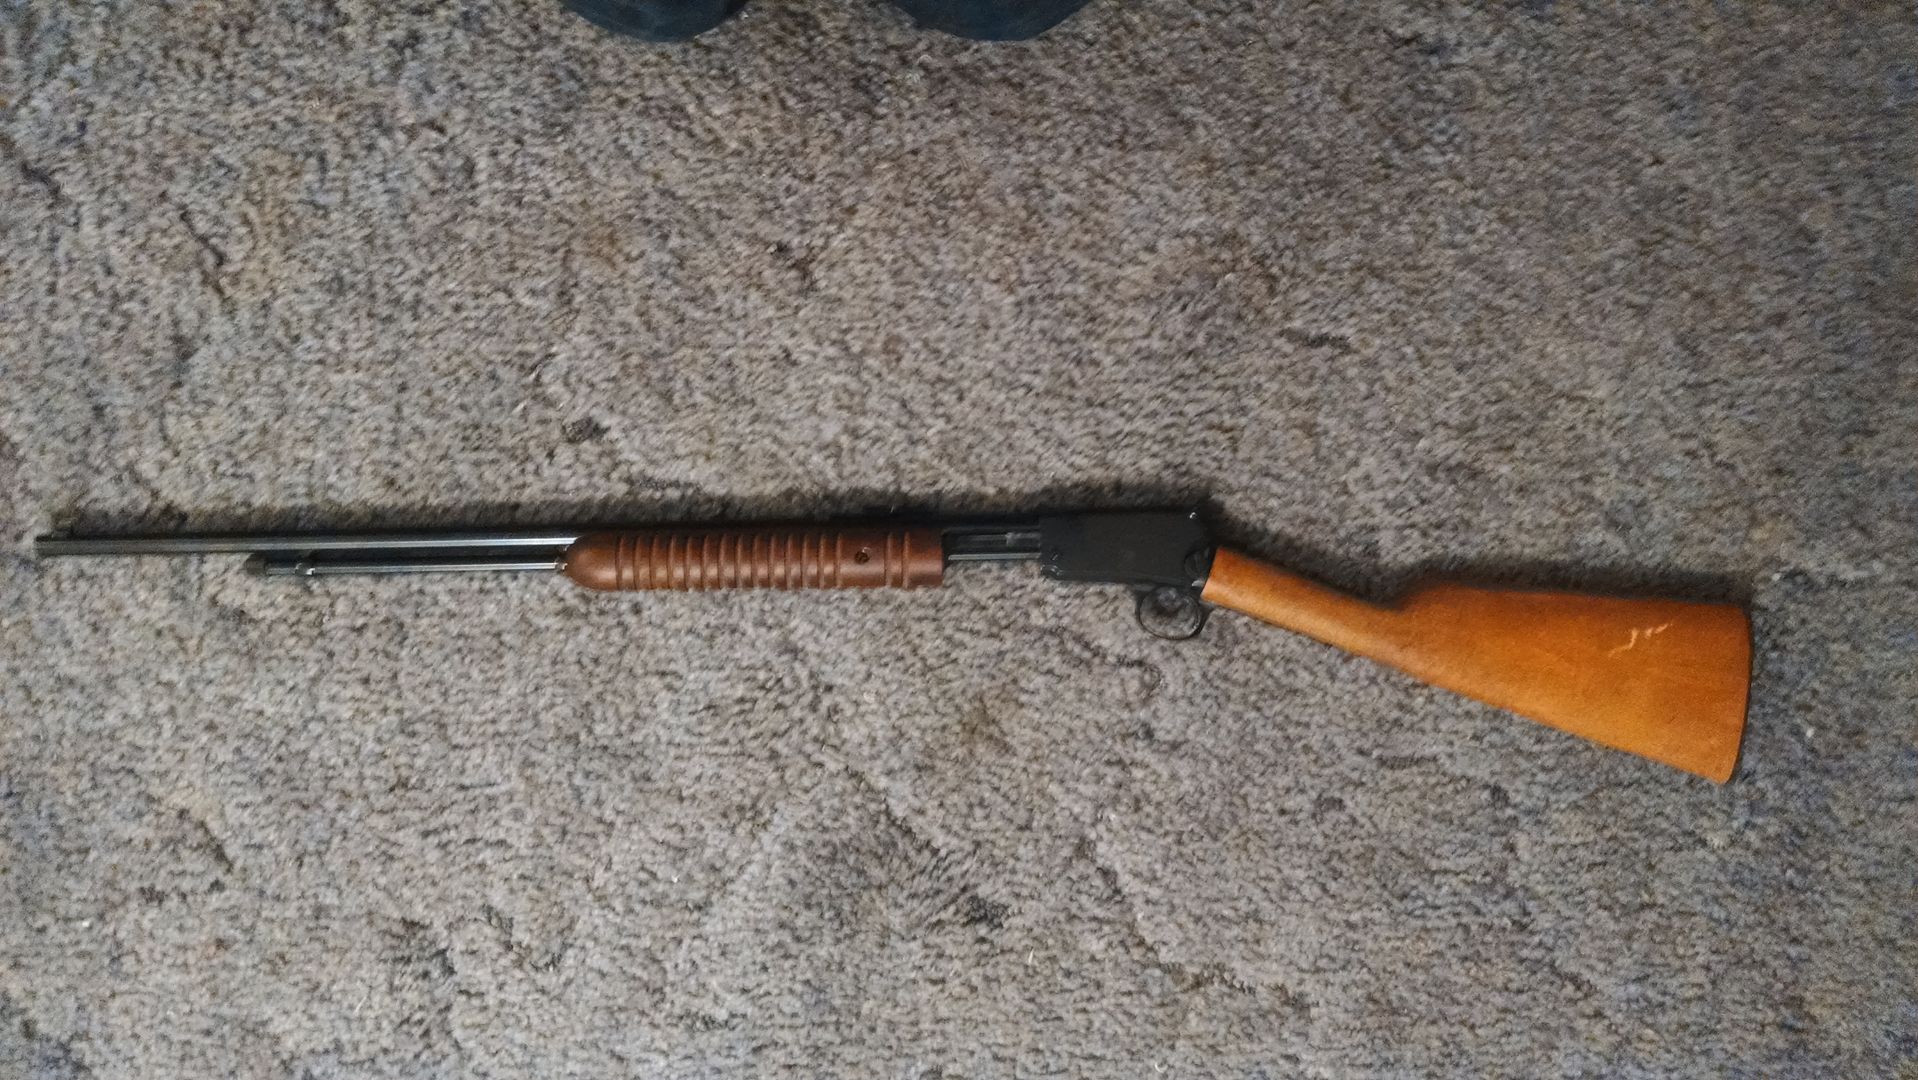
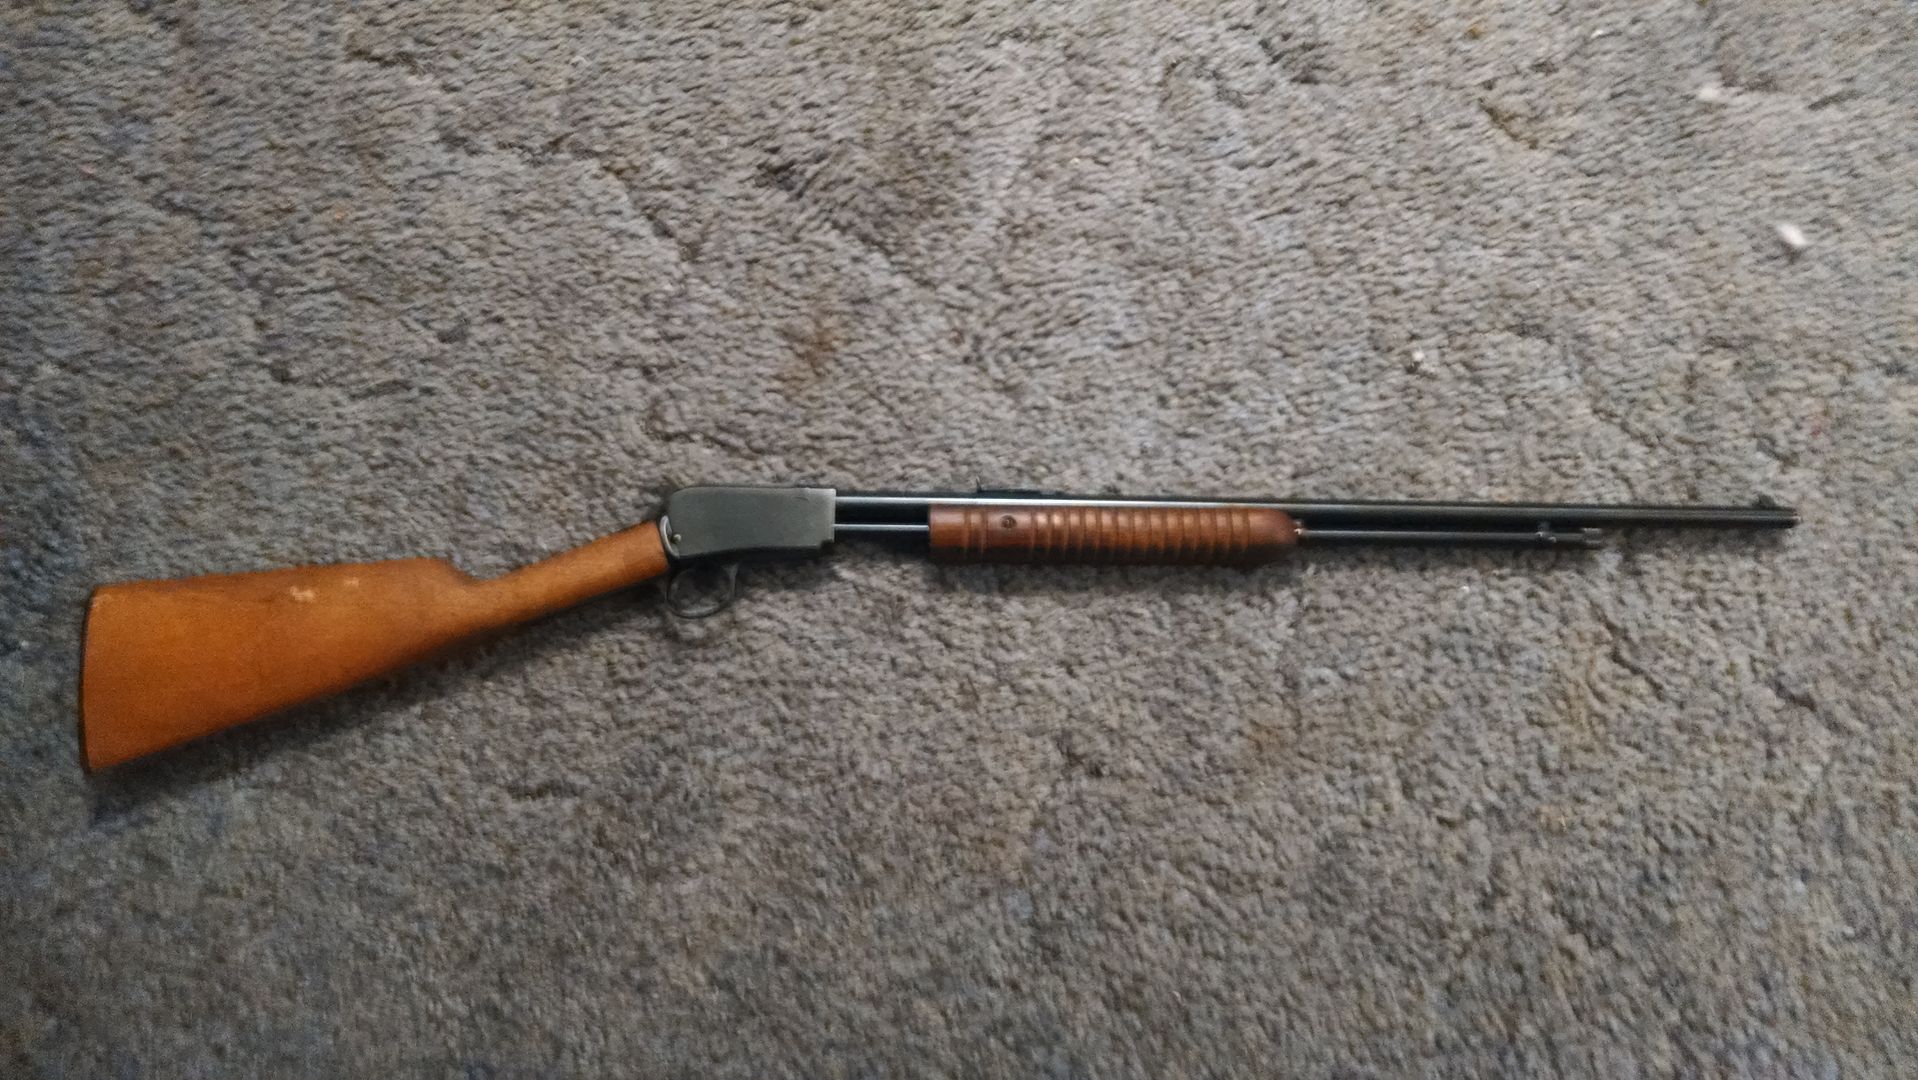
Over all I think the the gun is in ok condition. on a scale of 1 to 10, 1 being just a box of parts and 10 being a perfect rifle looking brand new and well taken care of, I would rate this one at about a 6 maybe a 7.
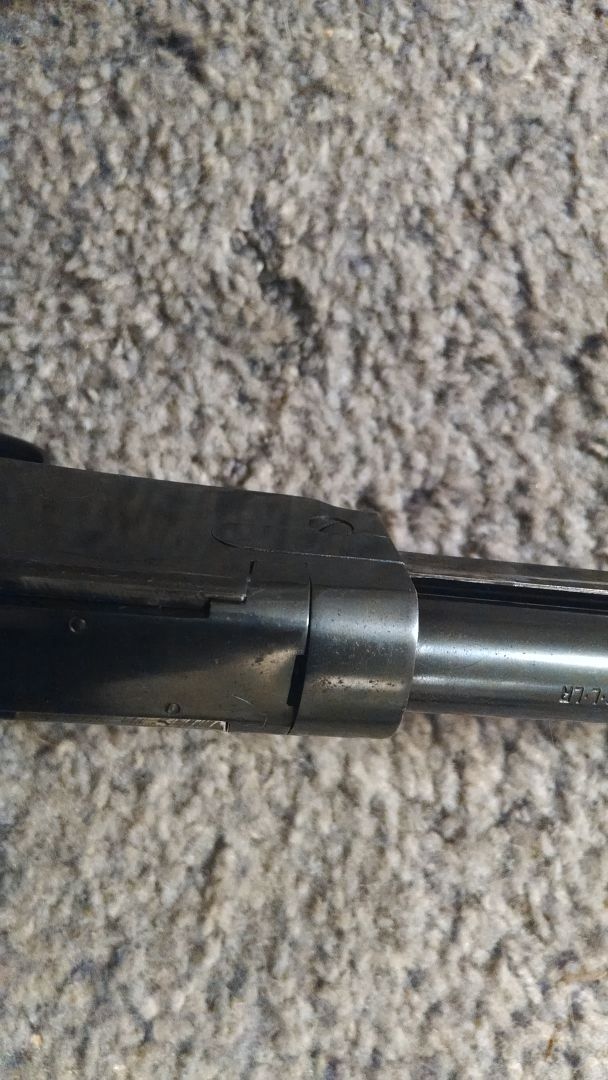
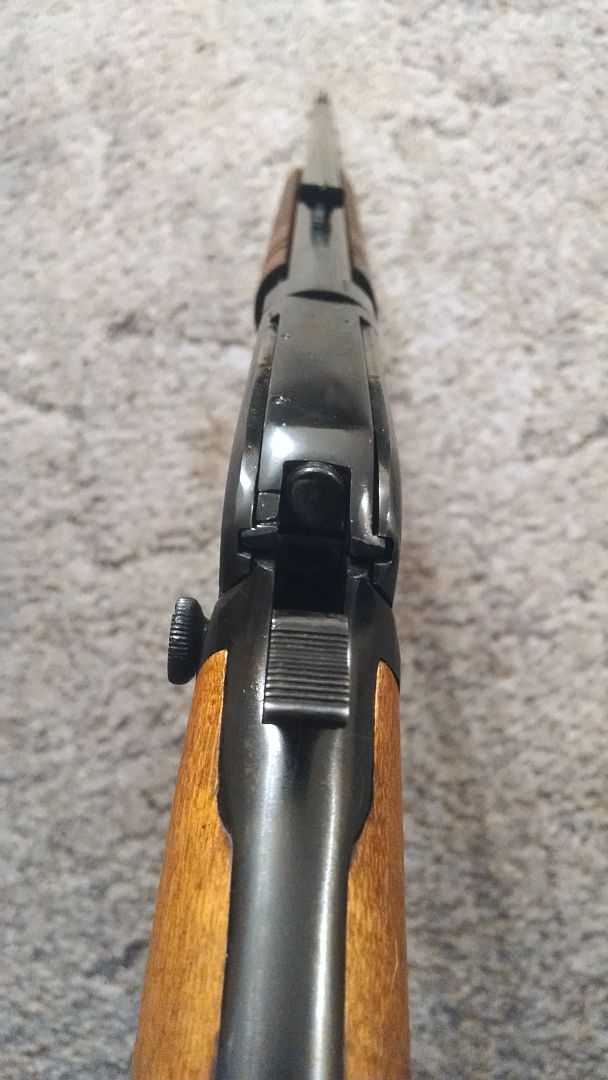
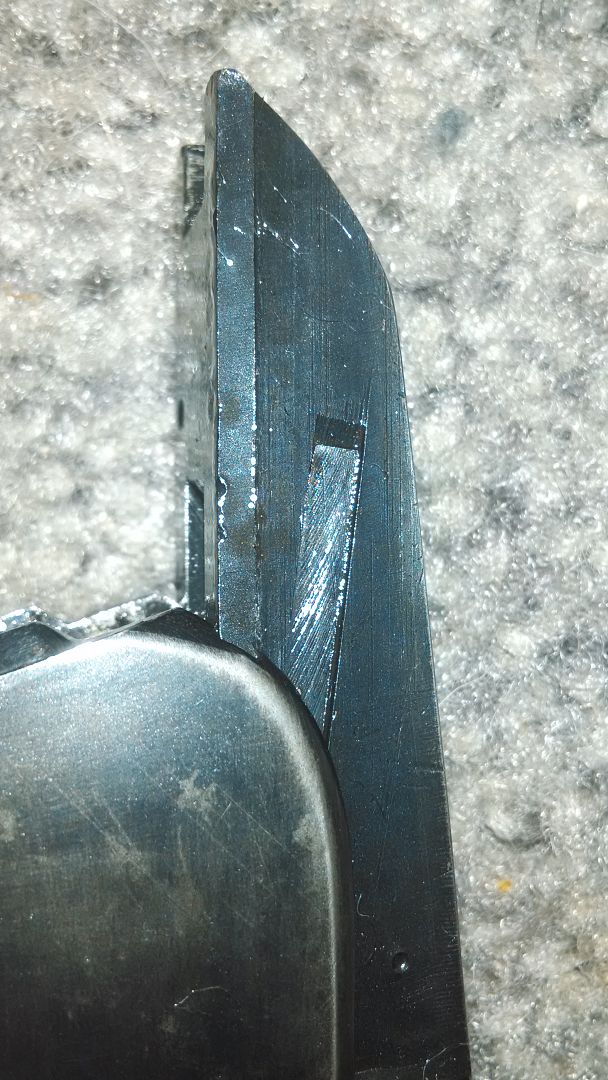
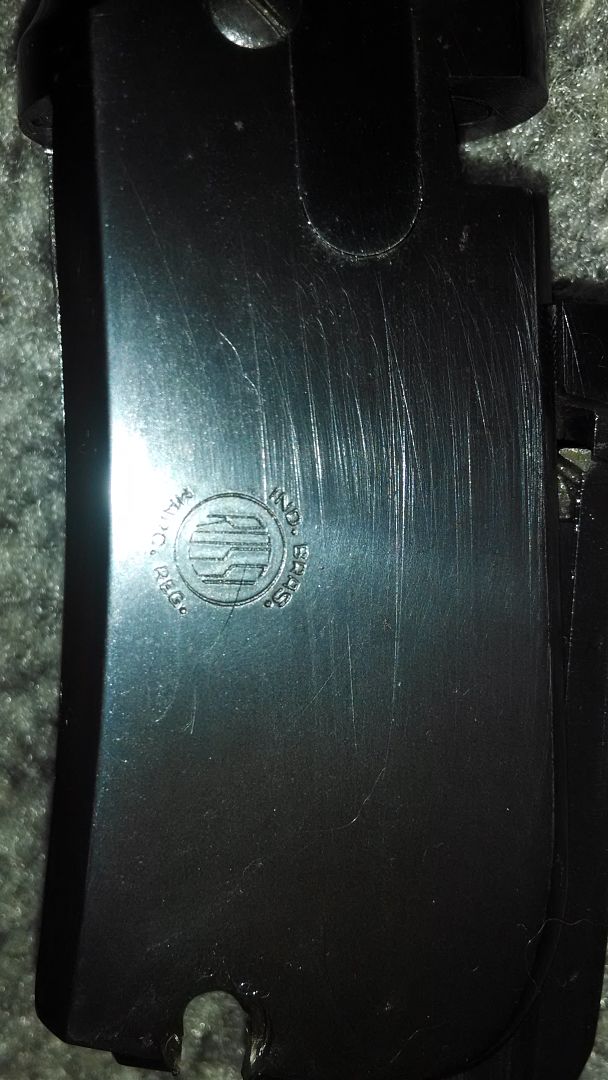
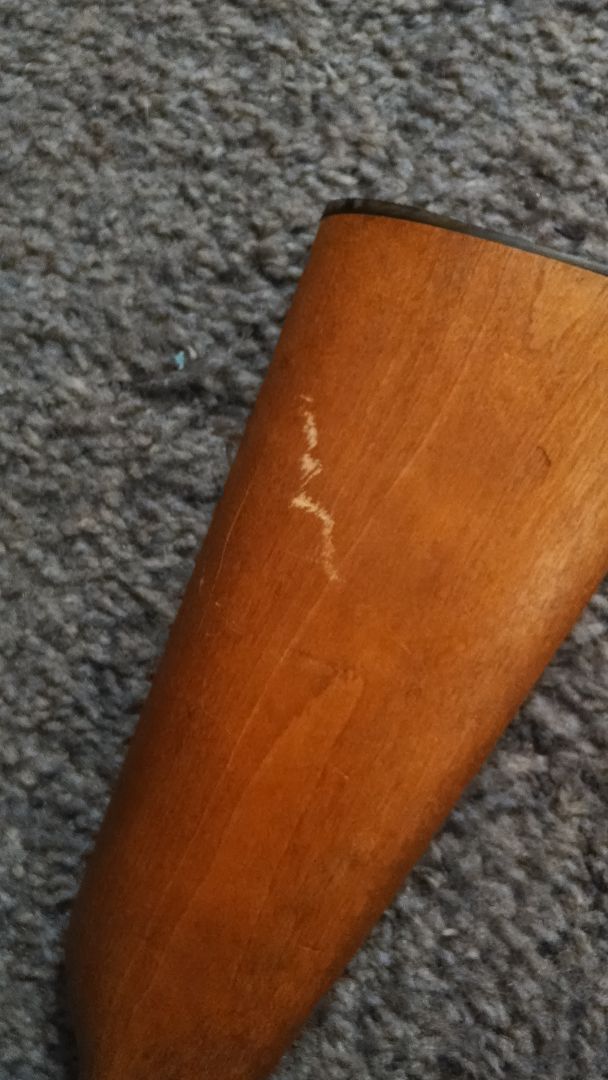
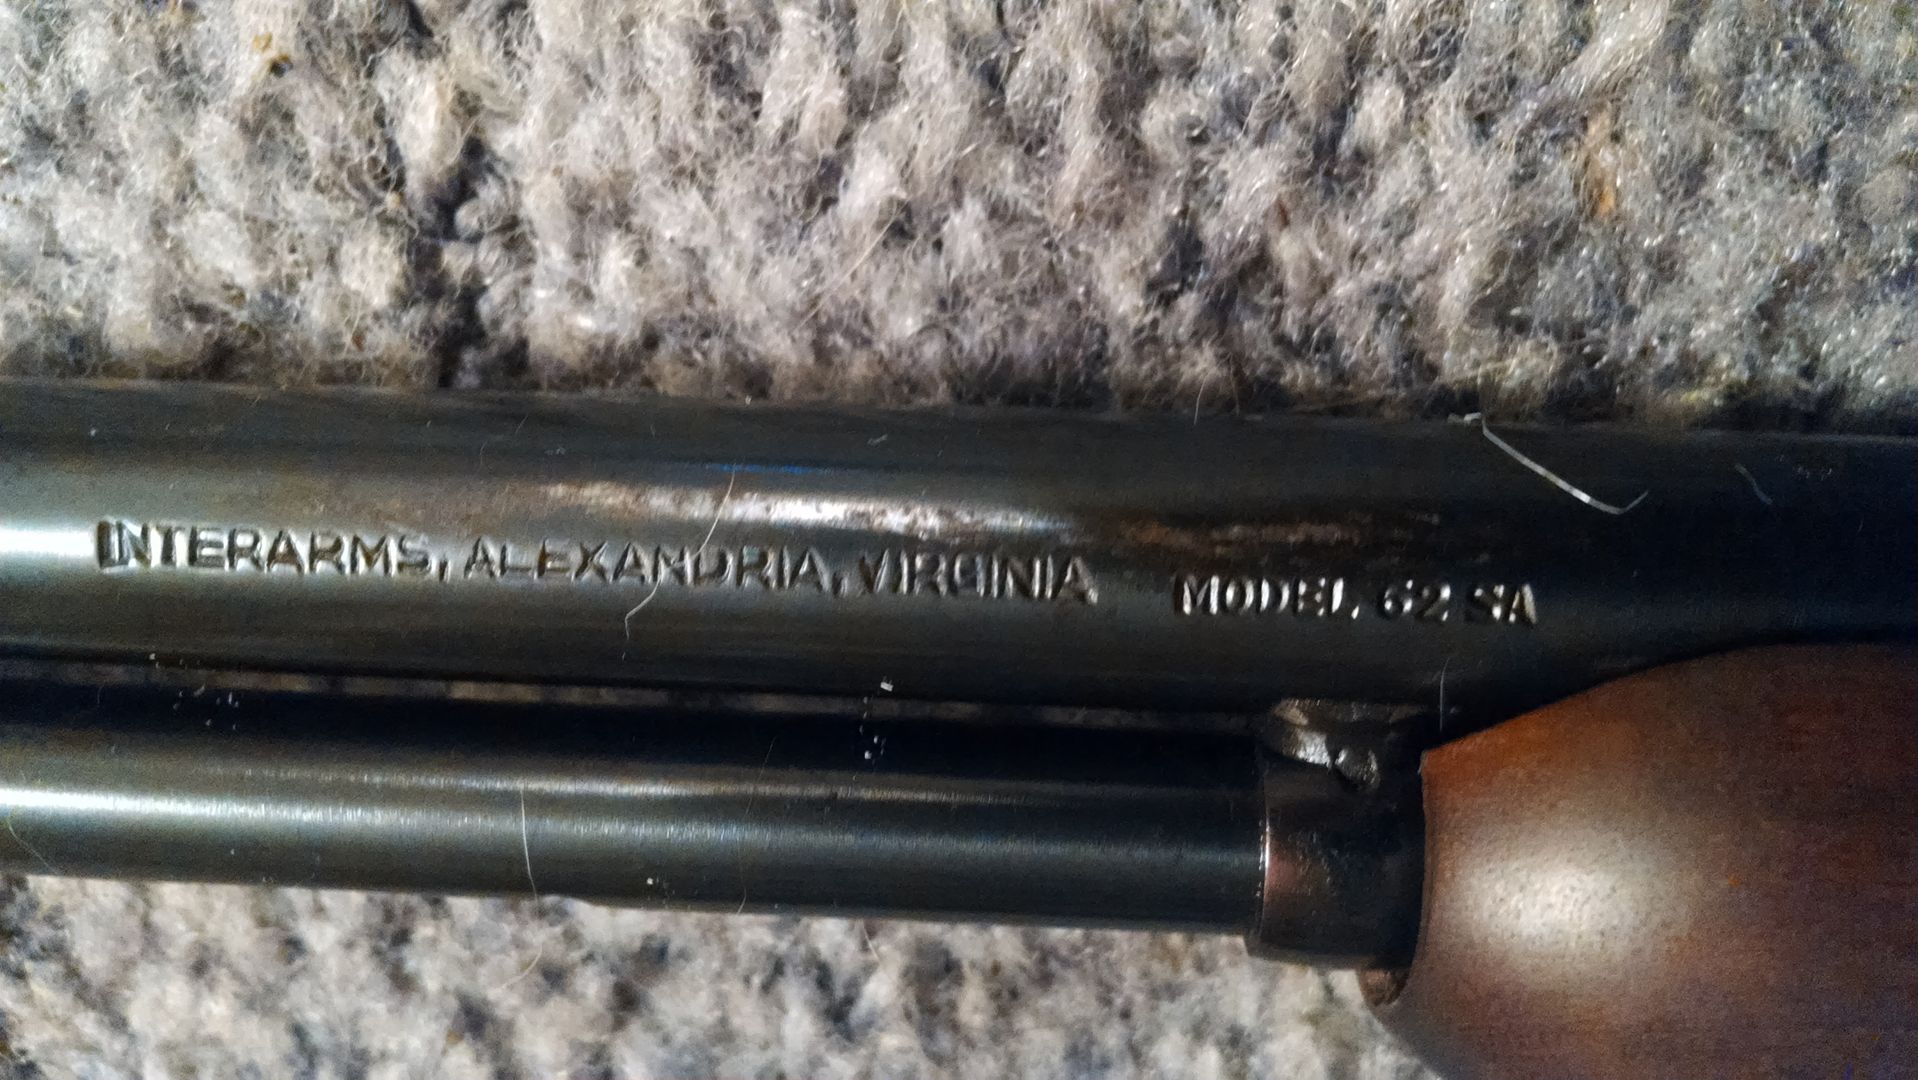
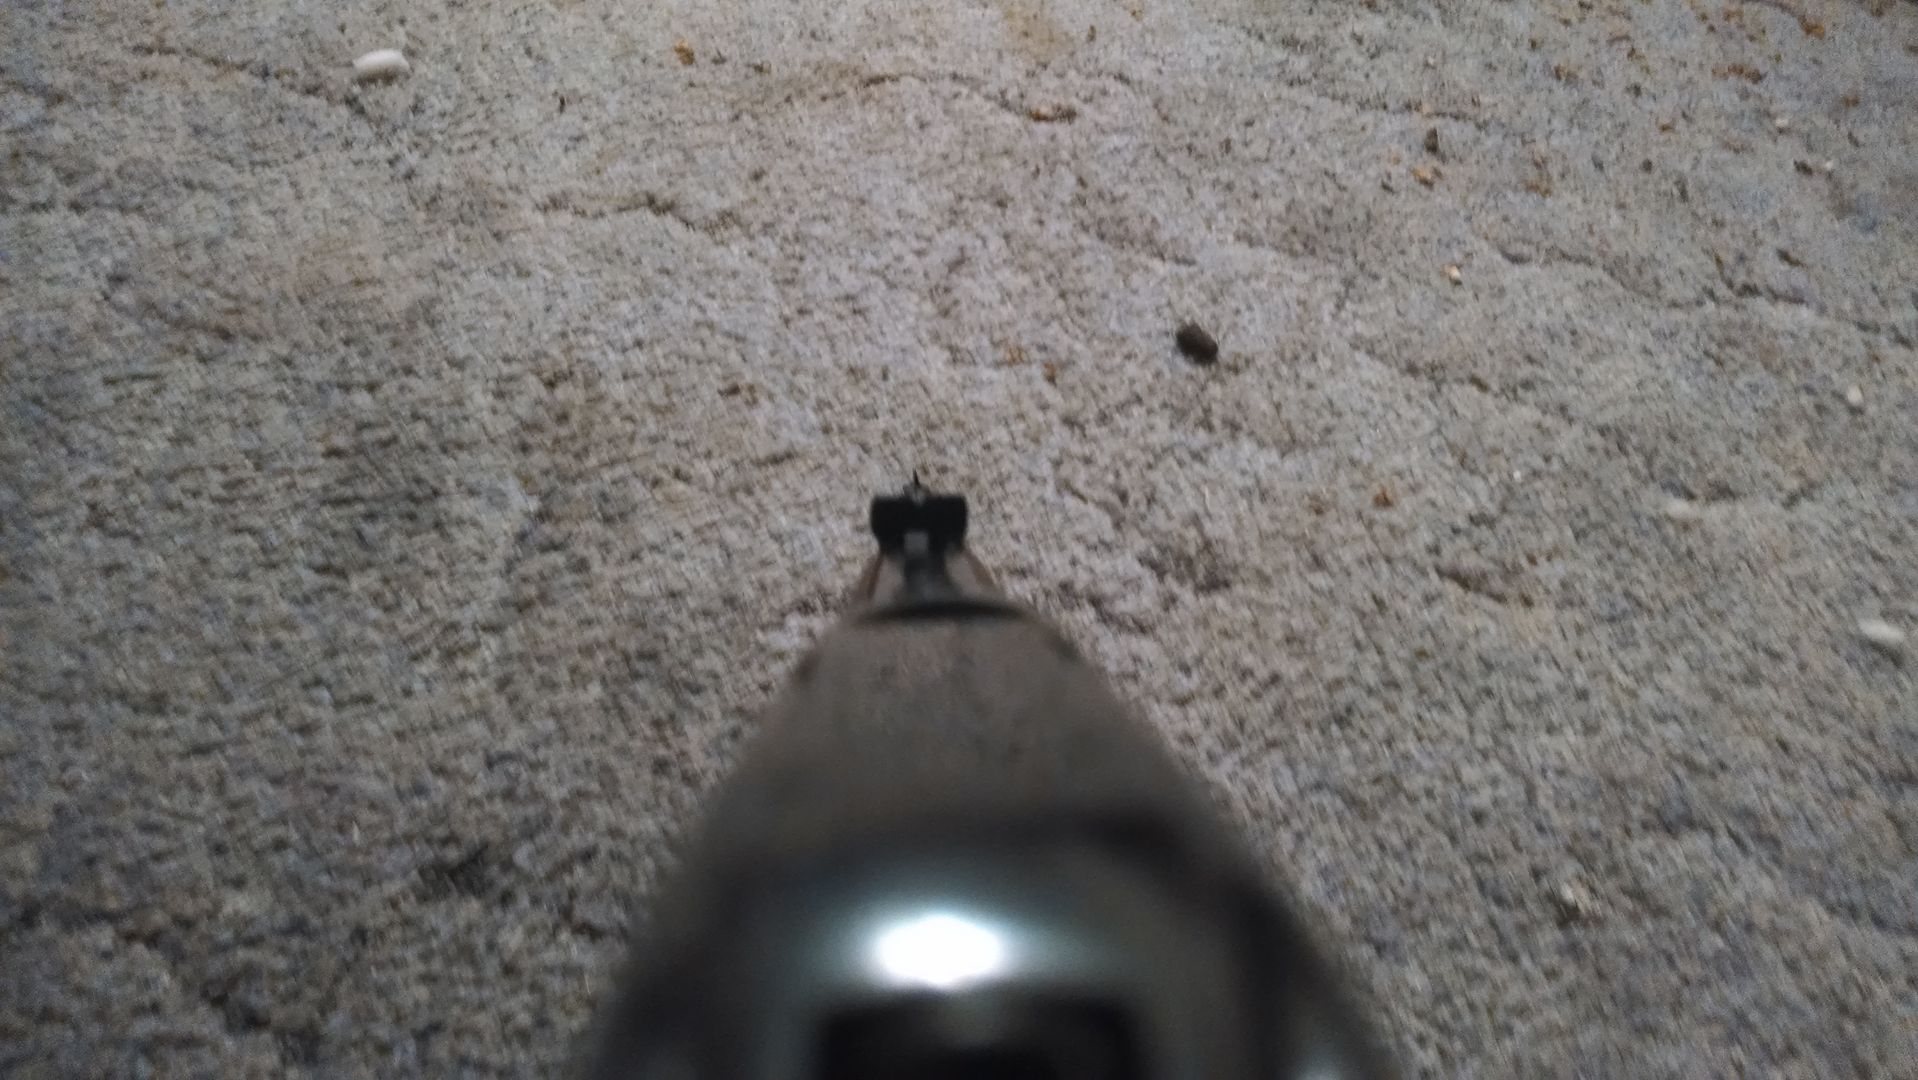
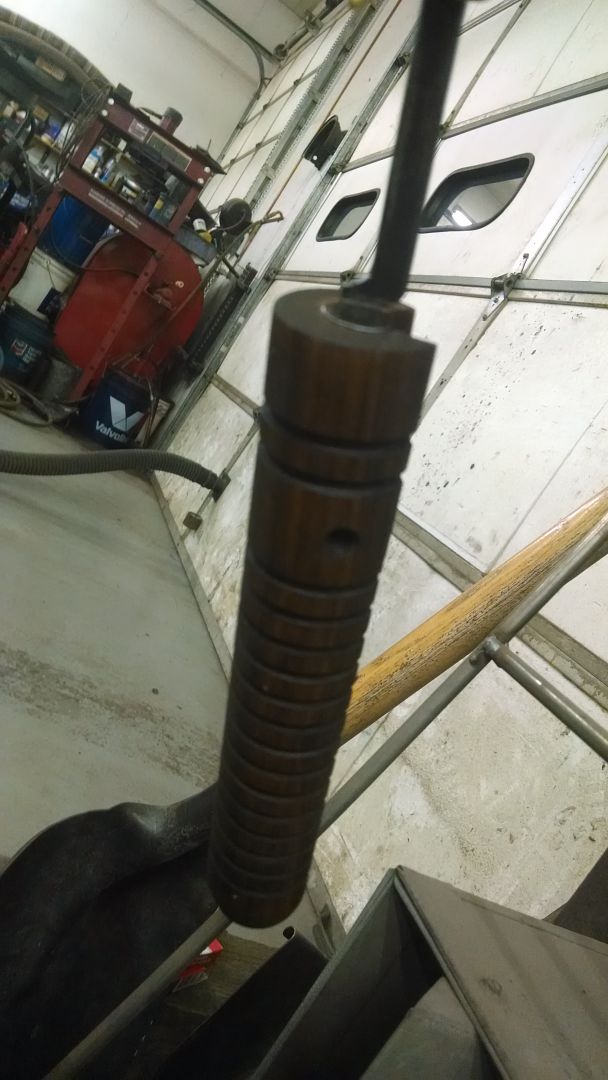
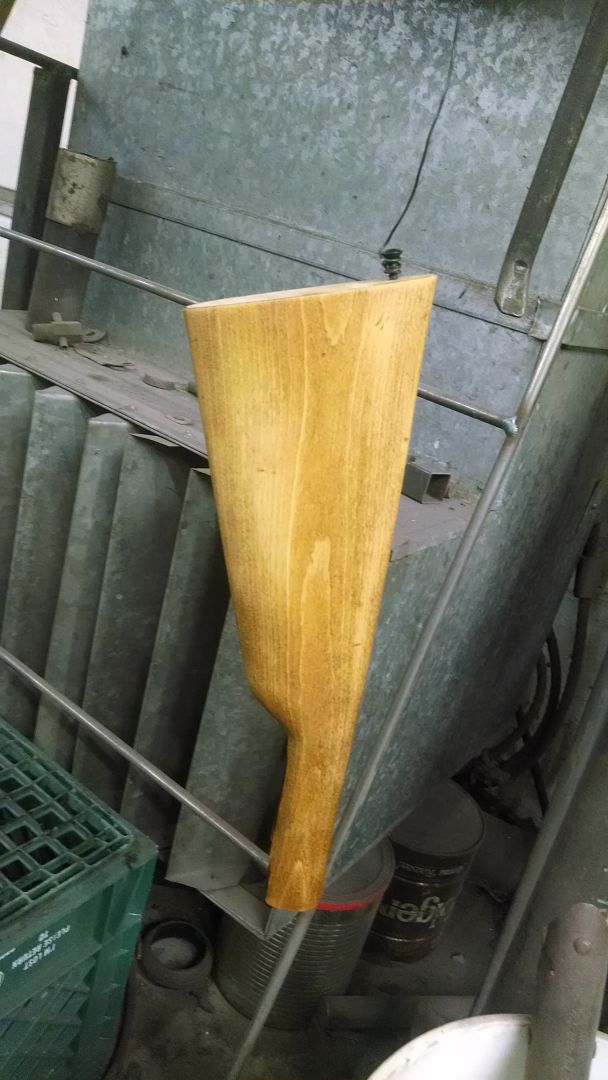
The fallowing pictures show the condition I got the rifle in last week.
Last edited by slimcowboy1978 on 16 Jan 2015 02:22, edited 2 times in total.
My over all goal is to get this rifle back to almost factory perfect. As you can see the stock doesn't quite match the tang, and the tang screw is too long. Also I am not fond of the pitting and scratches in the barrel, Top of the bolt assembly, and the receiver.
***Disclaimer This is my first project gun so any tips and tricks are very welcome***
I am not new to refinishing antique wood, so Stage 1 is going to be pretty strait forward for me. Re bluing the barrel and other parts, not so much.
So here is my plan:
Stage 1:Stock/Fore Grip Referbish
Strip finish off of both the stock and Fore Grip
Fit the Stock to the tang better
Smooth out the scratches and chips
Refinish stock and Fore Grip.
Stage 2: Recondition Metal
Remove bluing from all exterior pieces
Remove rust and majority of pits
Polish the action and slide bar
Reblu the exterior metal parts
Stage 3: Updates
Address the sights (they work great, but I can hardly see them and I have 20/20 vision I feel for those of you that don't)
Replace and repair anything I find extremely worn.
Looks like a worthy project especially if you can take the time to enjoy it.
I had a 62SA that I bought from my FFL. It had been his gun since new and in a weak moment he sold it to me. He had said that he would buy it back if I ever wanted to move it. I hadn't shot it for awhile so I asked him if he wanted it back. My intent was just to give it to him as he has done quite a bit for me. He gave me twice what I paid him for it.
Ranch Dog wrote:Looks like a worthy project especially if you can take the time to enjoy it.
I had a 62SA that I bought from my FFL. It had been his gun since new and in a weak moment he sold it to me. He had said that he would buy it back if I ever wanted to move it. I hadn't shot it for awhile so I asked him if he wanted it back. My intent was just to give it to him as he has done quite a bit for me. He gave me twice what I paid him for it.
Sounds like one of my FFLs here. He does stuff like that all the time. What I like the most about him is he calls us up every time he gets a new (model or prototype) for my dad and I to test out for several weeks, then gives it to us at half cost.
I love tinkering with stuff, and am really really excited to take on this project. It lets me do some things I know how to do (I used to refurbish antique furniture to resell), while learning how to do things I have never dreamed of doing before.
I started on Stage 1 today. I got the stock to fit the tang better, sanded down the stock and fore grip removing all the chips and scratches. I didn't get any pictures of the stock and grip sanded down, but here are pictures with the first coat of Boiled Linseed Oil.
As you can see the Stock and Pump woods don't match.. Tomorrow I am going to experiment with some stains to get a better color on the stock.
Its coming a long slowly. I put two coats of walnut stain on before the wood became too saturated, I still can't get the color right, so I am going to sand off a few coats tomorrow and try again.